We recommend that every floor sanding professional has their own sample kit to test their favourite colours, oils, stains and lacquers wherever the job takes them.
Sample kits are a great way to demonstrate and sense-check work you are proposing for a customer. For standard, common finishes you can use it to build a small collection of flooring samples using your favourite products. For more complicated work, the sample kit is a mobile laboratory that can be used to run tests on site to check adhesion, colour and durability.
Ultimately, the type of work you do will dictate the exact requirements of your own sample kit. If you haven’t started already, here’s what you need to begin…
A Sturdy Container
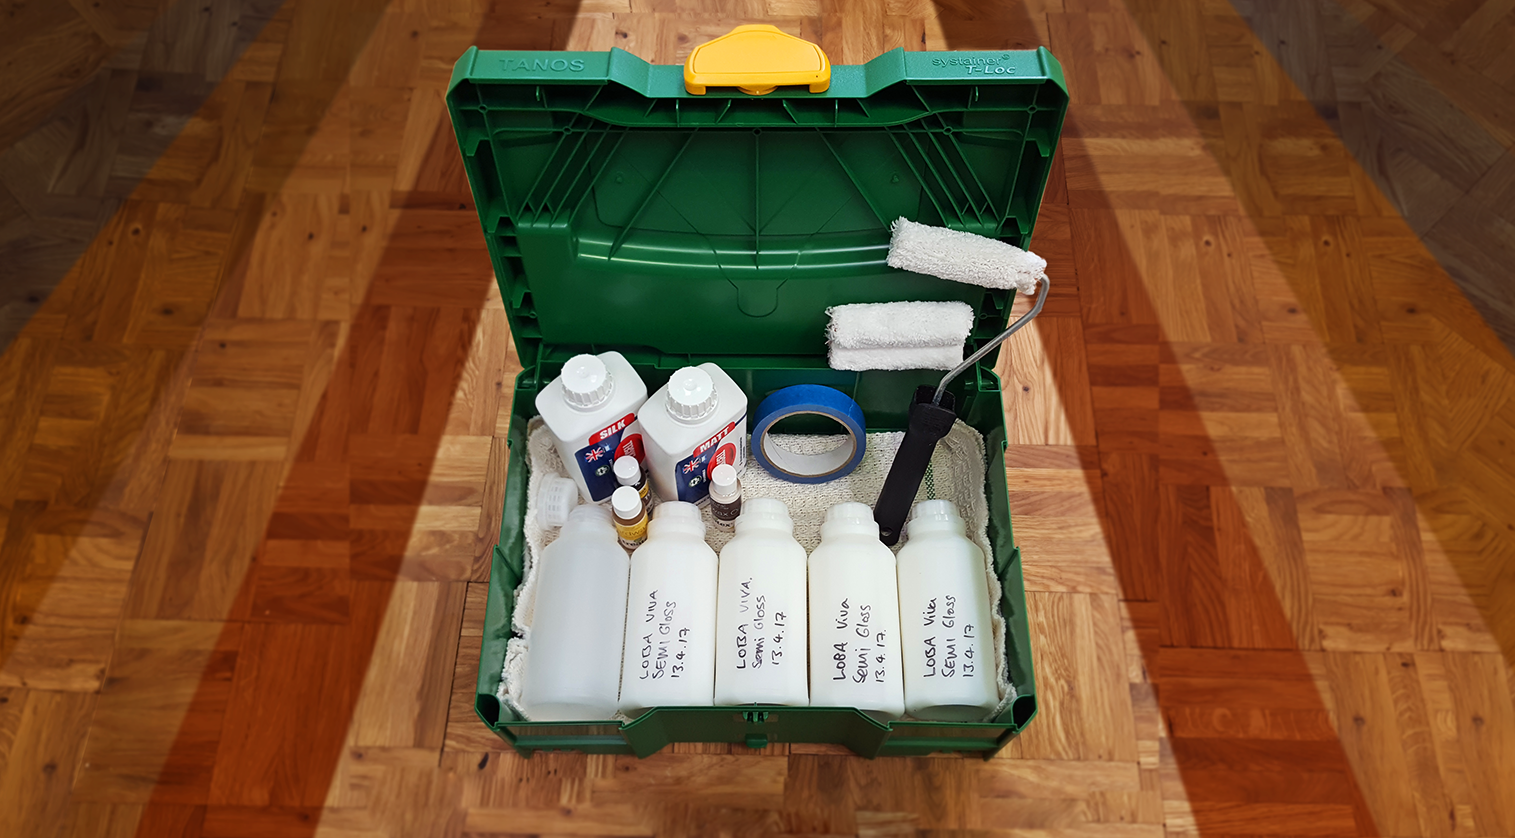
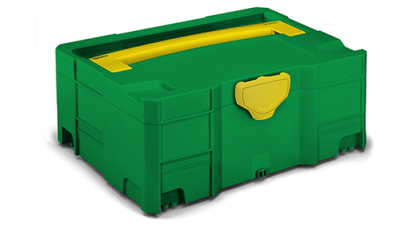
Step one of having a great kit is having something to store it in. As a minimum size you will need to look for something approximately 400 x 250 x 150mm. This is big enough to line with padding and lay a few 500ml bottles and other accessories in, without the risk of becoming too heavy. If you already using Systainers, the Tanos 2TL is a great size, and has the added benefit of working with your existing storage system. Flight cases and re-purposed tool boxes are also good options.
Padding
The last thing you want is containers spilling their contents on to your (or a customer’s!) floor. Invest in some egg crate foam or pad things out with oil cloths or tea towel to prevent contents moving around too much in transit. If you can, line the inside of the container with plastic to make it waterproof. It might seem like overkill but the one time it pays off, you will fall to your knees in relief.
HDPE 250-500ml Bottles
Keeping opened lacquer in appropriately sized bottles (rather than in the half-empty containers it arrived in) will extend the life of your finishes and slow down the build up of sediment as they react with air. The leftovers of your favourite products will be the main ingredient of your sample kit.
Sharpie
Keep everything organised and labelled. It’s no good saving lacquer if you don’t remember what it is in a month. Make a note of the finish, original expiry date opened date. As well as good practice, this will also teach you more about how long products can last once opened, saving you money in the long run. You can also label up your on-site tests for future reference.

Masking Tape
Use masking tape or frog tape to keep your tests clean and tidy – especially when they are on someone else’s floor. Using a high quality tape like frog tape also helps keep clean edges if you are popping grain with a water mister. It’s also very handy for labelling darker bottles.
Applicators
Here you just need to think small. 4″ Rollers, rags and small paint brushes are great for putting down tests and can be cleaned or disposed of easily. Just remember that the roller type still needs to be correctly matched to the product you’re using:
- Oil & Hardwax – Mohair / Velour
- Water-based Finishes – Microfiber
- Primer – Universal / Striped

More Samples & Testers!
Most stores and suppliers will be able to provide samples (1L bottles or smaller) of their stains, oils and lacquers for customers to test out on a particular job. We also recommend saving a little of your favourite lacquers and colours to experiment with.
No matter what happens, take every opportunity to fully test new products and understand how they work together!
At KHR Company Ltd. we test all of our stocked products extensively to understand their compatibility and the results you can achieve. If you need technical assistance creating a bespoke finish, please contact us for help and advice.
We are proud stockists of BONA, JUNCKERS, MORRELLS, LOBA and TREATEX, which can all be found on our commercial website.